How to Write a Thesis in LaTeX (Part 4): Bibliographies with BibLaTeX
Part 1 | Part 2 | Part 3 | Part 4 | Part 5
Author: Josh Cassidy (August 2013)
This five-part series of articles uses a combination of video and textual descriptions to teach the basics of writing a thesis using LaTeX. These tutorials were first published on the original ShareLateX blog site during August 2013; consequently, today's editor interface (Overleaf) has changed considerably due to the development of ShareLaTeX and the subsequent merger of ShareLaTeX and Overleaf. However, much of the content is still relevant and teaches you some basic LaTeX—skills and expertise that will apply across all platforms.
In the previous post we looked at using images and tables in our thesis. In this post we are going to look at adding a bibliography to our thesis. To do this we are going to use the biblatex package. This involves creating a list of sources in a separate file called a .bib file.
The Bib File
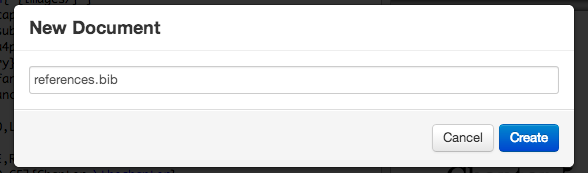
When we create this file we need to choose a name for it and save it as a .bib file rather than a .tex file.
Now every time we need to reference a source we can cite it in the text and then fill in the source details in the .bib file. First we'll look at filling in our .bib file and then we'll move on to discussing citations. To add a new entry to our .bib file we need to first tell BibLaTeX what type of source we are referencing. We do this using an @ symbol followed immediately by the source type.
@article{<citation key>,
    author        = {},
    title         = {},
    journaltitle  = {},
    year          = {}
}

@online{<citation key>,
    author        = {},
    title         = {},
    year          = {},
    url           = {}
}

@book{<citation key>,
    author        = {},
    title         = {},
    year          = {}
}
Then comes an opening curly bracket and a citation key of our choice followed by a comma. We then need to tell it all the details it wants for that particular type of source. We do this using a list of keywords each followed by an equals sign and the corresponding information in curly brackets.
Items in the list are separated by commas. Each recognised source type has a list of required details which we must provide. But we'll often want to give more details. For example, for an article entry we need to use the author, title, journaltitle and year or date keywords. For an online source we need to use the author or editor, title, year or date and url keywords, and finally for a book it's the author, title and year or date keywords. Here's an example of what they might look like filled-in:
@article{einstein,
    author        = {Albert Einstein},
    title         = {Zur Elektrodynamik bewegter K{\"o}rper. (German) [On the electrodynamics of moving bodies]},
    journaltitle  = {Annalen der Physik},
    year          = {1905},
    volume        = {322},
    number        = {10},
    pages         = {891-921},
    doi           = {http://dx.doi.org/10.1002/andp.19053221004}
}

@online{knuthwebsite,
    author        = {Donald Knuth},
    title         = {Knuth: Computers and Typesetting},
    year          = {1984},
    url           = {http://www-cs-faculty.stanford.edu/~uno/abcde.html}
}

@book{latexcompanion,
    author        = {Michel Goossens and Frank Mittelbach and Alexander Samarin},
    title         = {The \LaTeX\ Companion},
    year          = {1993},
    publisher     = {Addison-Wesley},
    location      = {Reading, Massachusetts}
}
All of the information about the recognised source types and all the keywords you can use can be found in the biblatex documentation.
Now let's return to the main .tex file. To set it up for a bibliography we need to load up the biblatex package using the \usepackage command. Also in the preamble we need to specify which .bib files we want to use by calling the \addbibresource command and entering the file name in the curly brackets including the .bib extension.
\usepackage{biblatex}
\addbibresource{references.bib}
Citations
Now let's look at citations. To cite a source in the text we use one of the biblatex citation commands. The simplest is the \cite command which prints the citation without any brackets unless you are using the numeric or alphabetic styles. We'll discuss styles a little later on. For example we may cite a source in the text like this:
\cite{latexcompanion}
Another one is the \parencite command which prints citations in parentheses except when using the numeric or alphabetic styles when it uses square brackets. There are more citation commands available to you which again can be found in the biblatex documentation.
The citation commands in biblatex also give us the option of adding a prenote and postnote in as arguments:
- a
prenoteis a word or phrase like "see" that is inserted at the start of the citation; - a
postnoteis text you want inserted at the end of the citation.
To add these notes in you uses two sets of square brackets in the citation command. If you only open one set of square brackets it will assume the contents of the brackets is a postnote, so if you only want a prenote make sure you still open the second set of square brackets and then just leave them empty. Here are some examples:
TEXT\parencite[see][p10]{latexcompanion}
TEXT\parencite[compare][]{knuthwebsite}
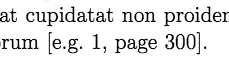
TEXT\parencite[e.g.][page 300]{einstein}
Styles
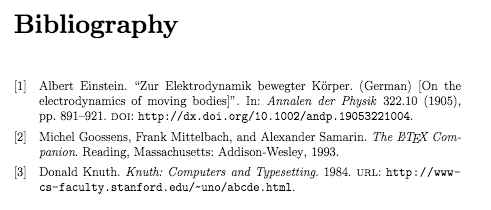
Now to actually get the bibliography printed in our thesis we use the \printbibliography command at the end of the document. By default the bibliography and citations use the numeric style which looks like this:
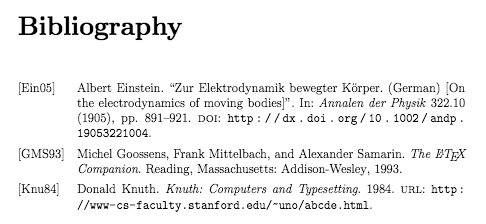
To change the style we pass more arguments into the \usepackage command in square brackets. For example this specifies the alphabetic style:
\usepackage[style=alphabetic]{biblatex}
Which looks like this:
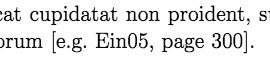
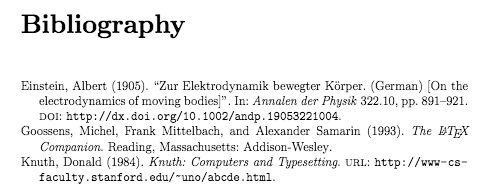
And this is the authoryear style:

Another thing we can change here is the way the bibliography is ordered. For example this sorts entries by year, name, title:
\usepackage[style=authoryear,sorting=ynt]{biblatex}
While this doesn't sort them at all but displays them in the order they are cited.
\usepackage[style=authoryear,sorting=none]{biblatex}
More information about the numerous styles and sorting options available can be found in the biblatex documentation. This concludes our discussion on adding a bibliography. In the final post of this series we'll look at customising some of the opening pages.